Mech-Q Training Videos for Engineering Workflows
Mech-Q is designed to work the way you already draw in CAD.
It runs alongside standard input and editing commands inside AViCAD, AutoCAD, BricsCAD, and IntelliCAD, extending familiar workflows rather than replacing them.
These videos focus on real drafting workflows — piping, ducting, structural tools, and reporting — showing how and when to use Mech-Q tools within everyday projects. The emphasis is on drawing strategy and workflow context, not just which commands to click.
Drawings created with Mech-Q use standard CAD entities and remain fully native DWG files. They can be opened, edited, and shared with anyone — even if Mech-Q is not installed — with no special dependencies or locked objects.
New to CAD or transitioning from AutoCAD?
If you’re new to AViCAD or AutoCAD-like drafting, start with our Getting Started with AViCAD guide — it explains the core drawing strategies Mech-Q builds on.
Already using AutoCAD, BricsCAD, or IntelliCAD?
You can add Mech-Q to your existing CAD setup without switching software.
Learn more about the Mech-Q add-on
Start Here: Understanding Mech-Q
Mech-Q runs inside your CAD application and builds on familiar drawing and editing methods.
It adds productivity tools that support your existing workflow and drawing standards rather than replacing them.
These videos introduce how Mech-Q fits into your day-to-day drafting, what the different modules do, and where to begin depending on your work.
Video 1 — Mech-Q Startup
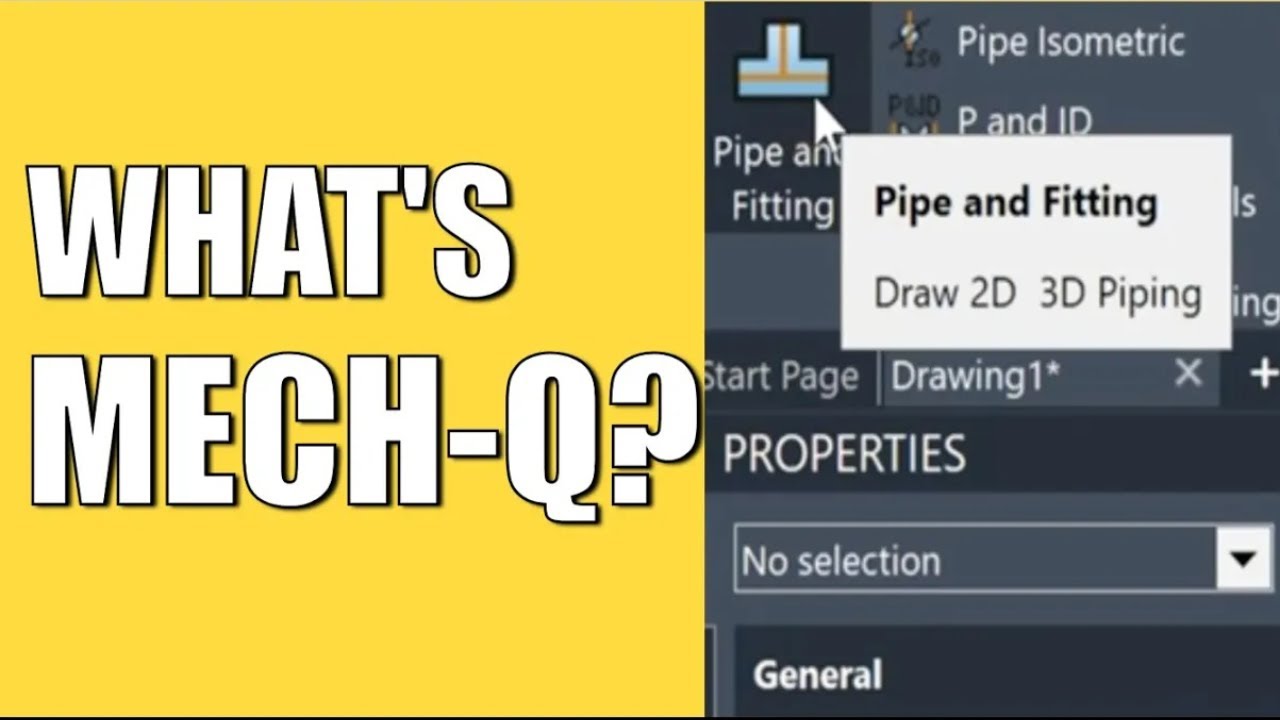
Mech-Q Startup Overview
An overview of what Mech-Q is and how it fits into AutoCAD-style CAD workflows. This video explains the available modules—piping, ducting, structural, and mechanical—and how Mech-Q and AViCAD work together to simplify 2D and 3D drafting while automatically tracking bill of materials.
Video 2 — 2D Pipe Walk-Through (Startup)

2D Piping Walk-Through
A hands-on 2D piping walk-through showing how to select pipe and fitting utilities, choose sizes and schedules, and work with material specifications. The video focuses on practical piping input rather than individual commands.
Video 3 — 3D Piping Startup
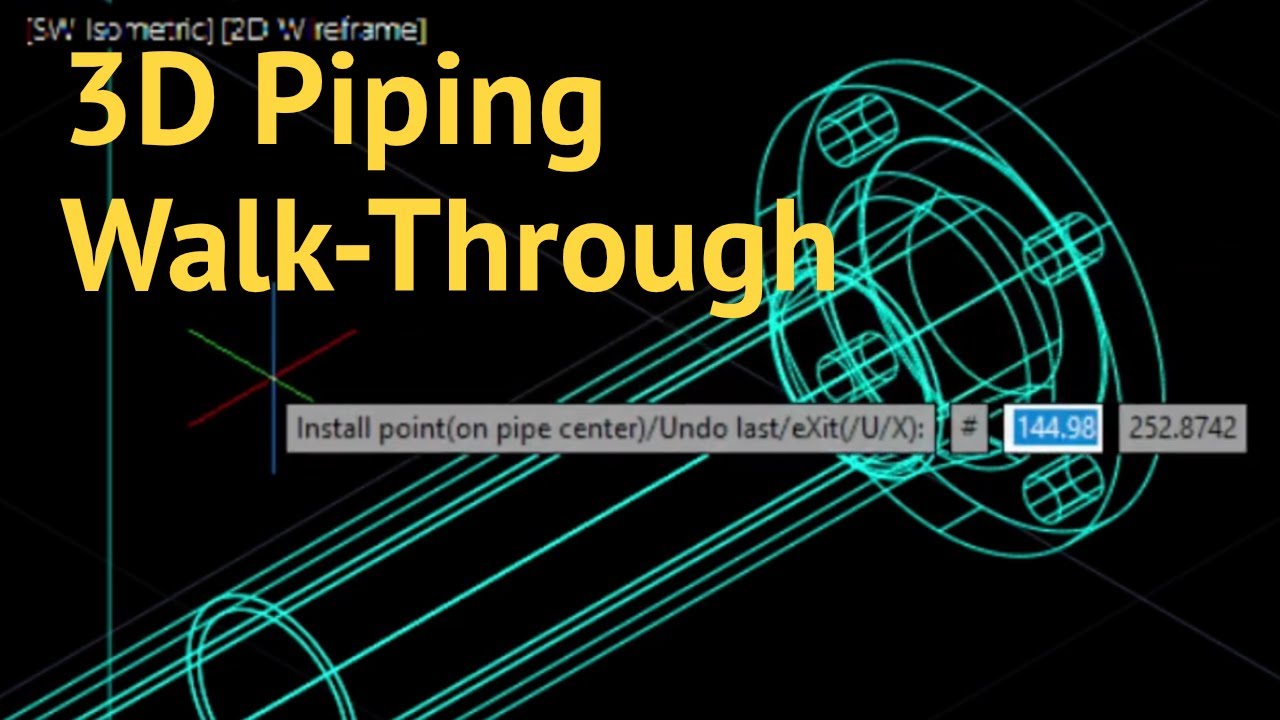
3D Piping Basics
This video demonstrates a basic 3D piping workflow using Mech-Q in AViCAD, AutoCAD, or BricsCAD. It covers essential CAD settings and shows how standard drawing commands work alongside Mech-Q piping utilities.
Video 4 — Structural Startup
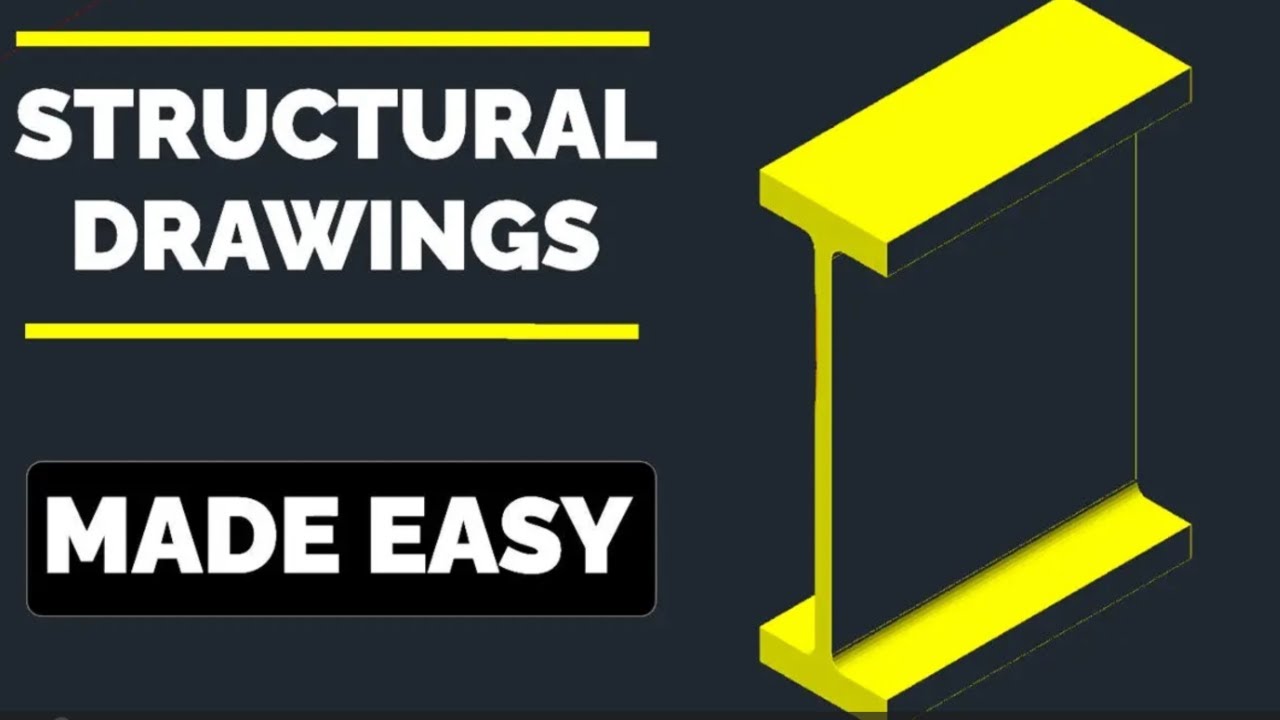
Structural – Startup
An introduction to Mech-Q’s structural shape utilities, showing how to draw 2D and 3D structural members, connect beams, and automatically manage a bill of materials. The video highlights how structural tools integrate alongside piping and ducting workflows.
Core Piping Workflows
These videos focus on the core piping tasks Mech-Q is designed to accelerate — from drawing input to isometric layouts and material reporting. Use these as practical references for real projects rather than step-by-step tutorials.
Video 5 — CAD Piping Drawing (Foundation)
CAD Piping Drawing Input for Beginners
A foundational tutorial for beginners learning how piping drawings are created in CAD. The video explains input strategy, drawing setup, and the logic behind piping layouts before applying Mech-Q tools.
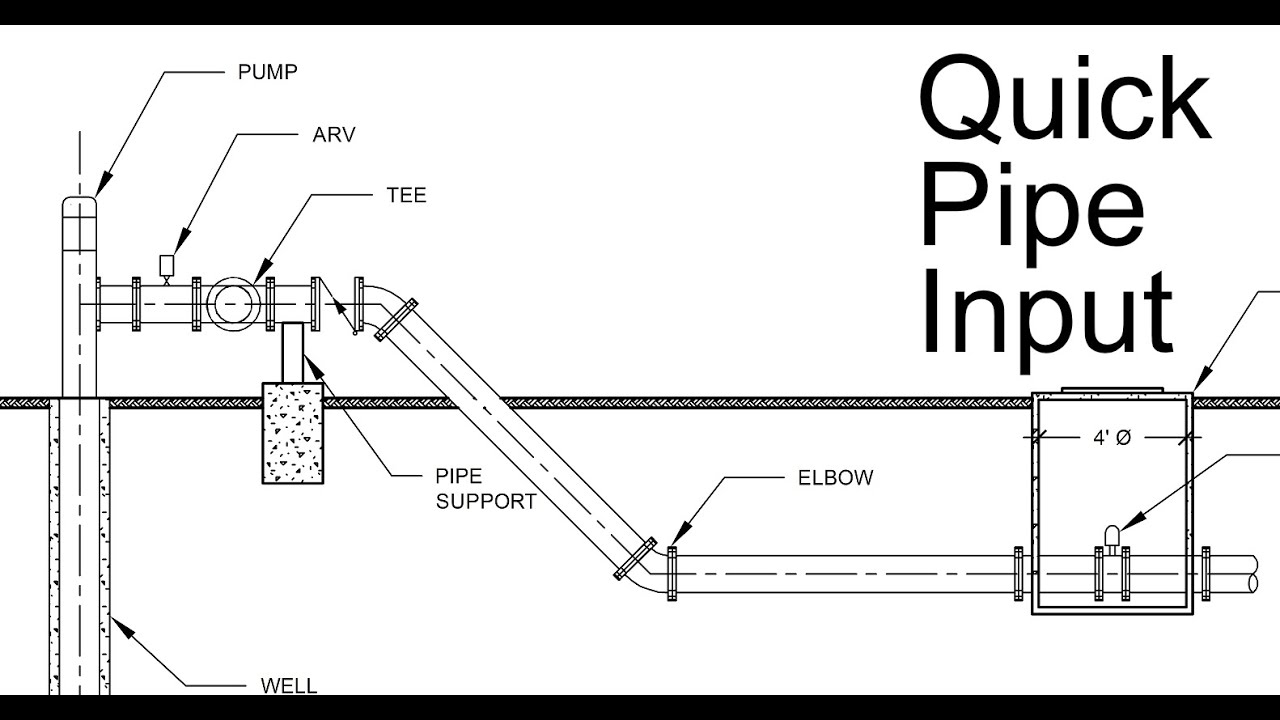
Video 6 — Isometric Piping (Quick Input)
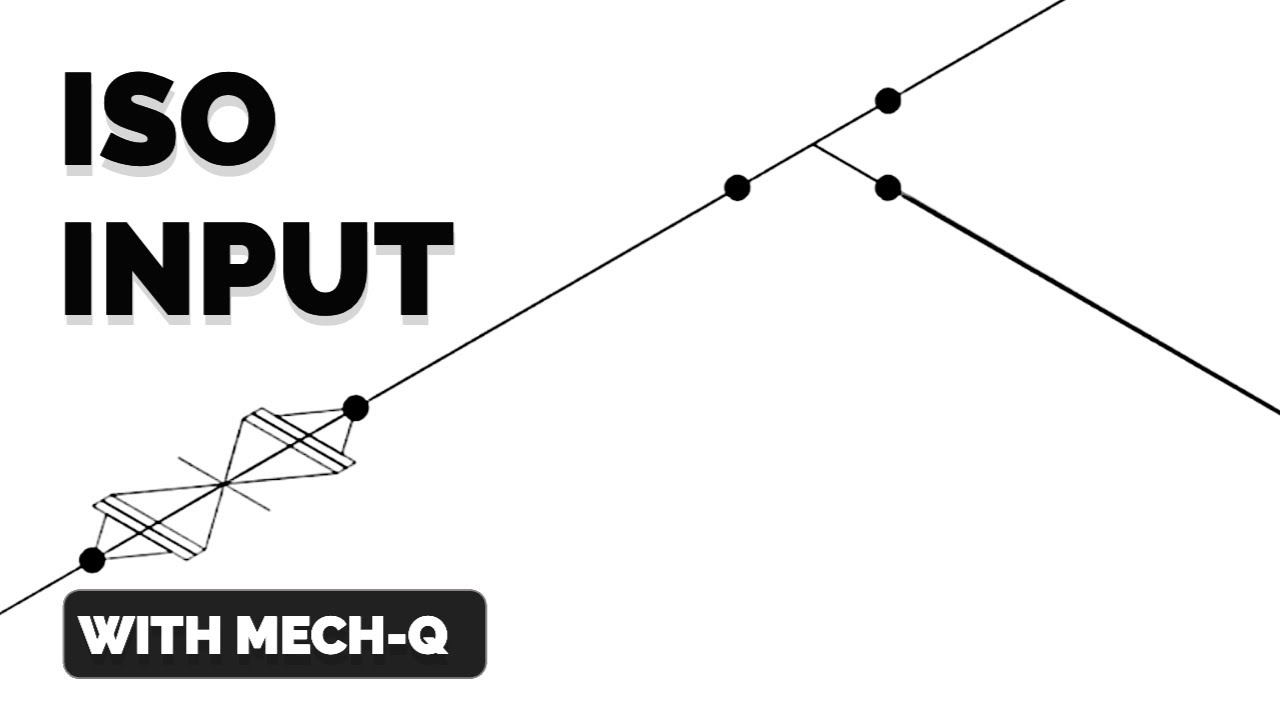
Isometric Piping – Quick Input
A quick, practical demonstration of creating a 2D isometric piping sketch using Mech-Q. The focus is on setting up the drawing, switching views, and efficiently placing fittings without worrying about final dimensions.
Video 7 — Easy Ducting Input

Creating 2D Ducting HVAC in CAD
A walkthrough of the Mech-Q ducting module showing how to select duct types, adjust insulation and pressure options, and place fittings such as elbows and tees. The video demonstrates how bill of materials tracking is activated automatically as you draw.
Video 8 — Piping BOM Made Easy
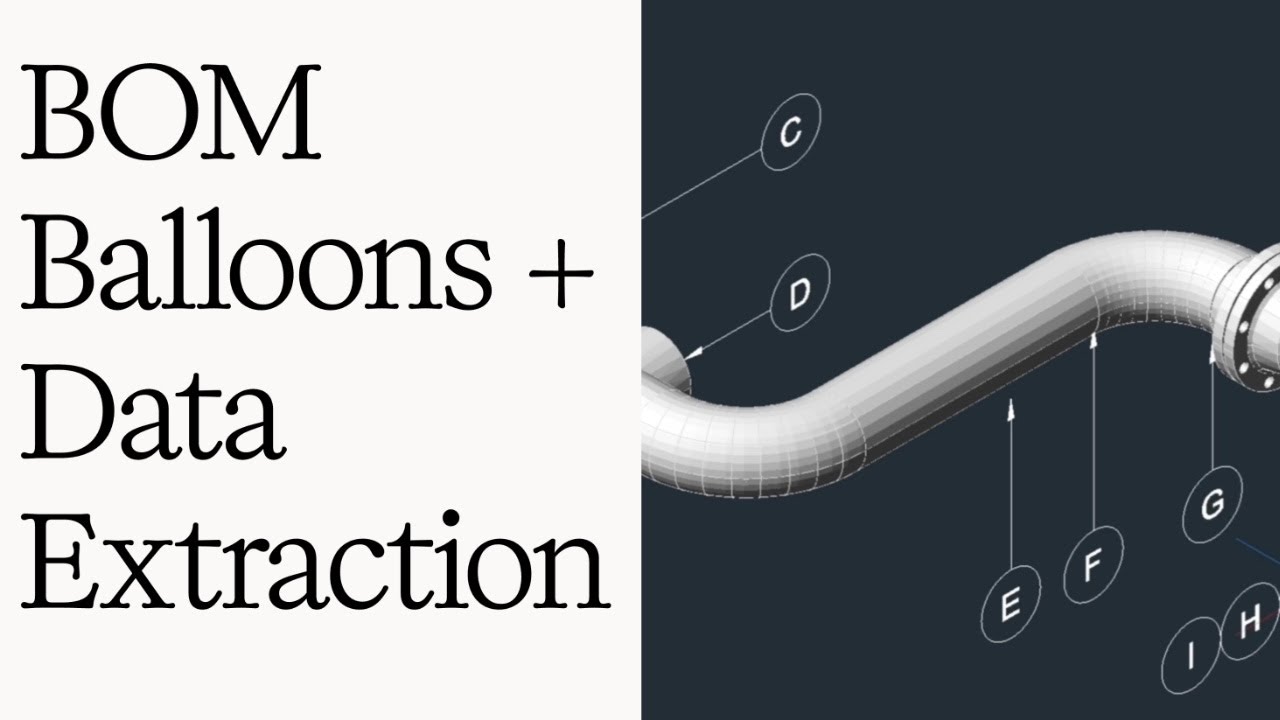
Piping BOM Made Easy
This video introduces a newer Mech-Q BOM and bubbling workflow designed to improve data extraction in both 2D and 3D drawings. You’ll see how to add BOM bubbles, tabulate items, generate schedules, and export results to Excel.
Additional Reference Videos
These videos go deeper into specific workflows and can be useful once you’re comfortable with the basics.
Video 9 — Creating Isometric Piping in CAD
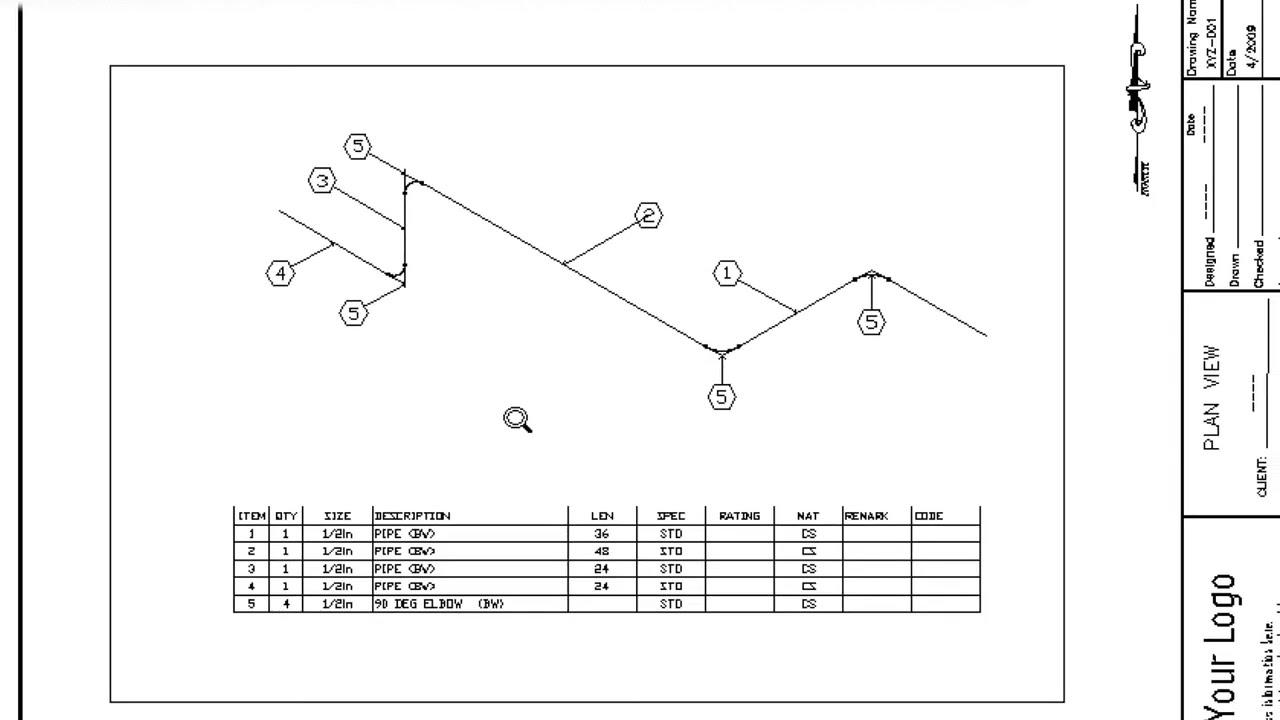
Creating Isometric Piping in CAD
A detailed walkthrough of setting up a CAD drawing for isometric piping, including drawing configuration, basic layout, and bill of materials generation. The video explains how pipe lengths and schedules are created in a traditional CAD workflow.
Video 10 — Draw 2D Ducting Over a Floor Plan
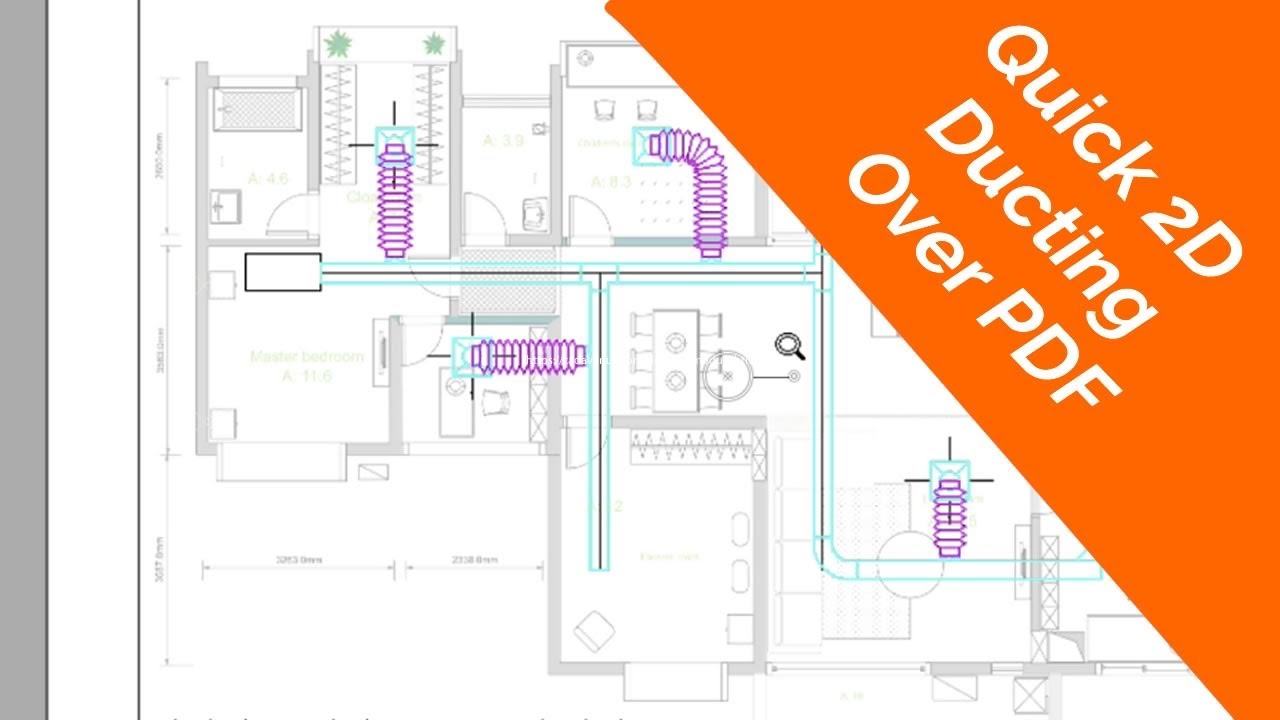
Drawing 2D Ducting Over a Floor Plan
A real-world example of creating a 3D ducting layout over a PDF floor plan using Mech-Q. The video shows how to place tees, elbows, branches, diffusers, and flex ducting while coordinating with architectural geometry.
What’s Next?
You’ve now seen how Mech-Q fits into real-world CAD workflows — from drawing input to reporting. Where you go next depends on what you’re trying to accomplish.
If you’re new to AViCAD or CAD basics
Start with drawing fundamentals and navigation so Mech-Q tools feel intuitive rather than overwhelming.
Getting Started with AViCAD
If you’re working on a real piping or ducting project
Use Mech-Q videos as references while you draw. You don’t need to watch everything in order — jump to the workflow that matches what you’re doing.
Browse all Mech-Q videos
If you’re evaluating software or tools
Learn what’s included, how Mech-Q integrates with CAD, and whether it fits your workflow.
If you get stuck
You’re not on your own. Help is available from people who actually use CAD every day.
Visit the Help Desk