How to draw an elbow and pipe.
Today we are drawing a 45-degree elbow and a straight pipe.
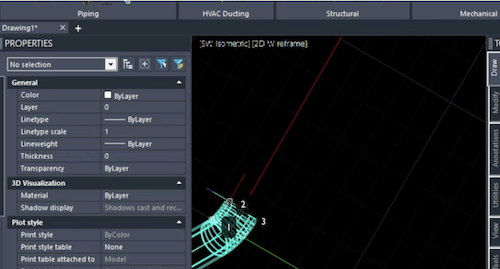
We are using Mech-Q ortho piping and toggling on the 3D option.
Before we draw an elbow, make sure to toggle on Node, Endpoint, and Quadrant in your Object Snap settings.
We chose eight-inch carbon steel but welded pipe to start off by drawing a straight piece of pipe.
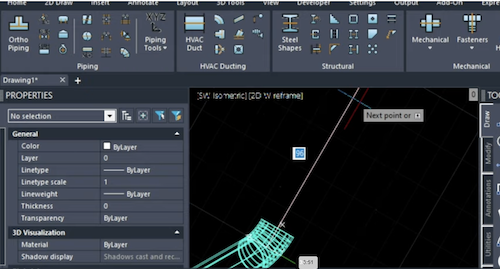
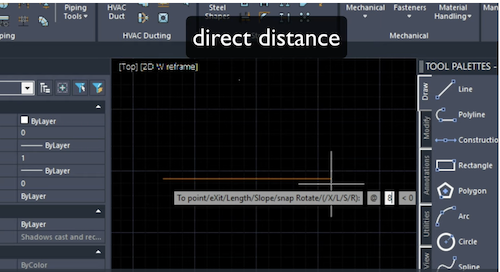
We are inputing the pipe and drawing in the elbow using direct distance input (DDE) and Dynamic Input.
We establish our first point and then point the cursor in the flow direction. Then type in 8 feet and press enter.
Next, we will draw our elbow at 45 degrees
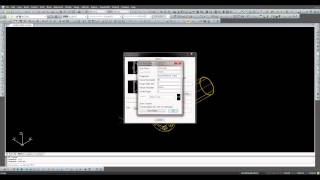
In Mech-Q you have a choice to choose different angles here. We choose 45 degrees. Then we pick the thumbnail in the dialog at the endpoint or there’s an indicator with a cross.
To insert the elbow at the last point, press the enter key to find that point.
Make sure while we are rotating the elbow about the end of the pipe that our Ortho mode is turned on. We put to pick a point to align that elbow and point it upwards.
Now, if we wanted to, check our results we can look at it from the top view or left view, for example, to make sure the elbow is placed correctly
How align the UCS at the end of elbow
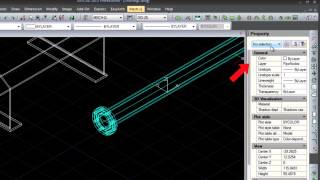
Now that we have drawn our elbow, we will need to align the UCS to the end of the elbow. The elbow contains nodes to snap to.
If you are working with a pre-made block, the process of aligning the UCS will be similar.
Note that there’s a node at the where these two angles of the pipe converge which we will use to align the UCS.

We type UCS for User Coordinates and choose a three-point option first. The first point’s going to be that node just described where the two angles converge then click on 2nd node at center end of pipe. Lastly, with quadrant snap turned on we place our third point on the adjacent end of pipe.
And that’s going to align our UCS for our next piece of straight pipe..
Going straight out of that pipe there. Now the origin. Is that, that first note, second point is at the second node. And the third point is anywhere along the face of this pipe.
Note that there is an alternate method to aligning the UCS which might be easier as shown in this video.
How to a draw pipe at the end of elbow
Type the L command and again make sure that our ortho mode is turned on and then point the line in the direction of that new UCS that we’ve established.
And then type in eight foot. This is our construction line on layer 0.
Now that we’ve done that. We can load up Mech-Q again.and draw a straight piece of pipe in there connecting to the elbow.
Just press enter to find the last Mech-Q point drawn at the elbow (show highlighted as a X) and then snap to the end point of that construction line.
And then that will draw our pipe in. So again, we can check the, results to make sure everything is correct
We the check it on the front view and top view.
To wrap things up we can go into our layers. And we can turn off our pipe layer.
And then erase this construction line on layer 0.
I hope this has helped and feel free to contact us is you have any questions